How to Set Up the Flavia Aroma System: Step-by-Step
Key Takeaways
Set up the Flavia Aroma System is quick and straightforward, providing any Canadian business with a reliable, premium coffee solution. Implement these best practices to optimize convenience, quality, and long-term performance—delivering exceptional Lavazza experiences from day one.
- Choose your placement wisely by positioning the Flavia Aroma System on a flat, stable surface near power and water, away from sunlight and busy paths for maximum accessibility and longevity.
- Verify all components on delivery—including the brewer, water tank, drip tray, and user guide—to prevent delays and ensure a smooth start to your coffee program.
- Prioritize water quality and power stability—using filtered tap water and a direct, grounded outlet—since 70% of machine issues stem from these sources.
- Follow clear, simple assembly steps: install the reservoir, drip tray, and Freshpack bin for a five-minute setup that supports consistent, flawless coffee breaks.
- Prime and rinse the system before first use to flush residues and protect beverage flavor, reducing potential maintenance by up to 30%.
- Select between jug-filled or plumbed-in water options to match your business’s size and workflow—plumbed-in setups save over 30 minutes per day for high-traffic settings.
- Leverage easy-to-use display prompts for initial configuration, language selection, and daily operations, guaranteeing hassle-free use for all staff and guests.
- Incorporate simple daily maintenance routines—like emptying bins and wiping surfaces—to maximize uptime, promote sustainability, and preserve the system’s premium performance.
A well-organized setup delivers months of seamless, high-quality coffee service—explore the full article for step-by-step guidance that will elevate every workplace coffee moment.
Introduction
Imagine this: the first cup of coffee sets the tone for your workplace—one pour can uplift the mood, spark collaboration, and set guests at ease. Yet, 72% of Canadian office managers say coffee station hiccups cause unnecessary morning stress for their teams.
You shouldn’t need to be a technician to deliver premium Lavazza coffee in your office, hotel, or healthcare facility. That’s why the Flavia Aroma System was engineered for simplicity, reliability, and a sleek fit into even the busiest commercial spaces.
With a well-executed setup, you’ll unlock:
- Touch-of-a-button convenience that keeps lines moving and downtime low
- Consistently bold, café-quality flavour that impresses every guest
- A streamlined maintenance routine—saving staff time and ensuring every drink meets high workplace standards
Your coffee experience reflects your business values: quality, service, and sustainability. A strong first impression starts with a professional install—not just for the perfect brew, but for the convenience and satisfaction of every team member or guest.
No more guesswork or trial and error. You’ll discover clear, step-by-step guidance covering:
- Prepping your space and safety essentials
- Unboxing and inspecting each component
- Placement tips for busy, high-traffic commercial environments
- Powering up, initial setup, and priming for flawless operation
- Tailored advice for efficient daily use and longevity
The result? A coffee setup that works harder for you—making every break a moment to elevate your workplace atmosphere and show your commitment to staff and clients.
Ready to transform your coffee station into a seamless, premium service point? Start with setup strategies that support your business from the very first brew.
Preparing for Setup: What to Know Before You Begin
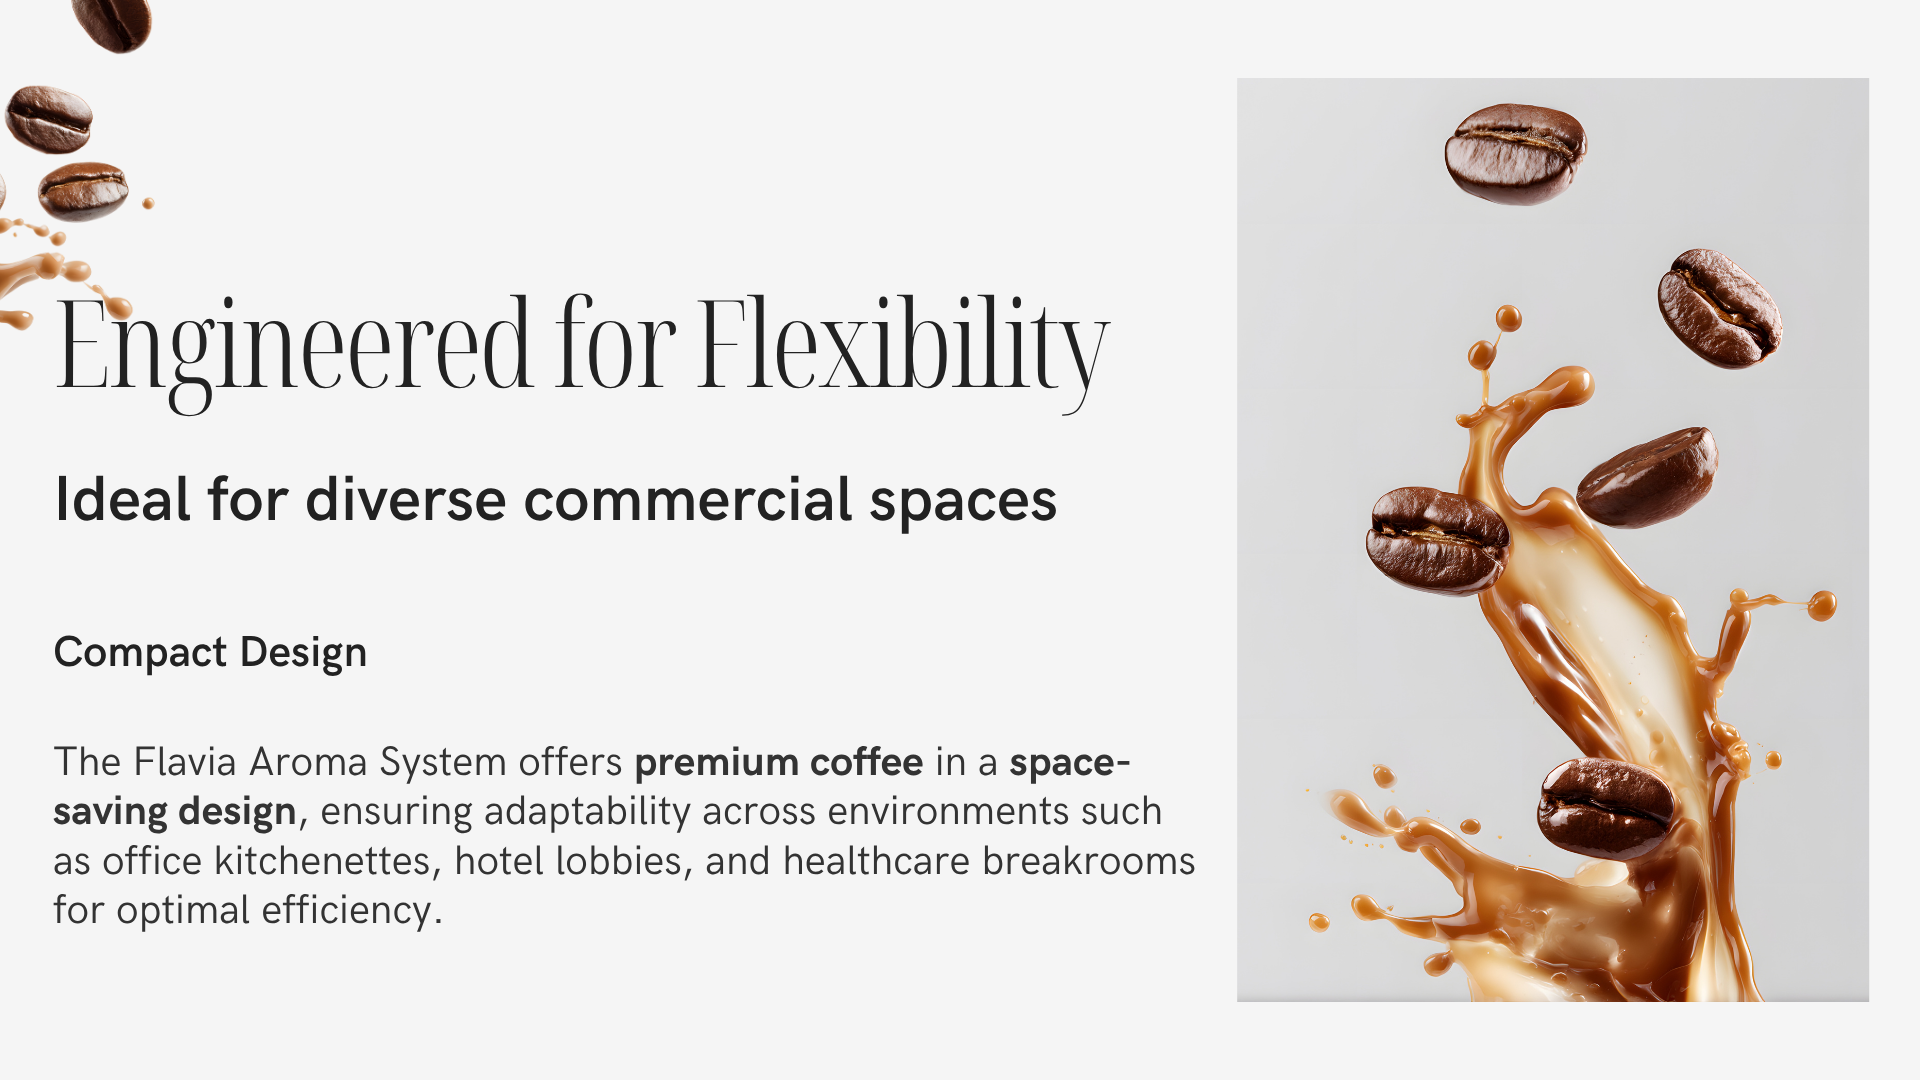
The Flavia Aroma System is engineered for flexibility—perfect for a busy office kitchenette, a high-traffic hotel lobby, or a staff breakroom in a healthcare facility.
It’s designed to deliver premium Lavazza coffee wherever you need it, with a compact footprint and simple controls that adapt seamlessly to different commercial spaces.
Placement Flexibility & Environment Scenarios
Picture this: The Aroma brewer nestled between a copier and a meeting room, or as a sophisticated centerpiece in a hotel lounge.
You have the freedom to position the unit on virtually any flat, stable, and dry surface, maximizing convenience without disrupting workflow.
- Opt for close proximity to a power source—most models require a standard 120V outlet.
- If your space allows, near a plumbed water source for minimal refilling and enhanced efficiency.
- Avoid locations with direct sunlight, high temperatures, or heavy foot traffic to protect machine longevity.
Essential Safety & Workspace Guidelines
Setting up for busy workplaces means accounting for both safety and accessibility.
- Maintain at least 4 inches of clearance behind and above the unit for ventilation.
- Never block vent openings, and keep cords tucked safely away from walkways.
- Select a spot that aligns with accessibility standards (like ADA compliance) for shared facilities.
Inventory Checklist: Unboxing with Confidence
Before powering up, verify you have:
- Main Flavia Aroma machine
- Water tank and lid
- Drip tray
- Freshpack bin (used pack waste bin)
- Power cord
- Quick-start guide/User manual
A quick component check on delivery ensures no surprises and a smooth start.
Water & Power: Two Keys to Flawless Brewing
Quality water and power are critical:
Industry studies show that 70% of coffee machine issues stem from water quality or inconsistent power supply.
- Use cold, filtered tap water—not distilled/softened—to avoid scaling and preserve taste.
- Confirm your outlet meets required voltage and amperage.
High-Quality Setup = Consistently Great Coffee
A careful setup sets the tone for your entire beverage program—reducing downtime, protecting your investment, and keeping team morale high with every cup.
Thoughtful preparation means your Flavia Aroma System performs at its peak, delighting staff and guests with premium coffee from day one.
Memorable takeaway: “A five-minute setup routine today can lead to months of smooth, flawless coffee service—impressing the whole workplace, one cup at a time.”
Step-by-Step Unboxing and Initial Inspection
Start Strong: Secure, Professional Unpacking
When your Flavia Aroma System arrives, first check that the packaging is secure and shows no signs of impact or moisture.
High-quality commercial delivery means the box should look pristine—picture this: a team member breaking the security seal, knowing every cup ahead depends on what’s inside.
Carefully remove the brewer and all included components, placing them on a clean, flat workspace with plenty of light.
This first impression sets the tone for reliability and professionalism in your office, hotel, or healthcare facility.
“The initial unpack determines your system’s smooth start—handle every part with intention.”
Inventory At a Glance: Everything in Its Right Place
Before assembly, use this instant checklist to confirm every essential part is present and undamaged:
- Brewer Unit: Inspect for any chips, cracks, or shipping stresses.
- Water Tank: Confirm seals and ports are intact.
- Drip Tray: Ensure grid and base are clean, and fit is tight.
- Freshpack Bin: No dents or residue—this is where used packs collect.
- Power Cord: Check length and insulation; no visible fraying.
- Display Panel: Protective covering in place, no scratches.
- Documentation: Manuals, warranty cards, compliance tags.
“Run this checklist immediately—missing or damaged components can be replaced at no cost if reported right away.”
Identifying Each Key Component
Lay components out in clear view for a professional, organized assembly.
Get familiar with each piece:
- The water reservoir attaches to the side or back—this determines refilling ease.
- The drip tray and cup stand adjust for everything from espresso cups to travel mugs.
- The Freshpack bin snaps in beneath the brew head for a clean, low-touch workflow.
“Setting up your Flavia Aroma System should feel as intuitive and clean as the coffee it makes.”
Professional Tips for Longevity
Handle all plastic and electronic parts gently—avoid twisting reservoirs or forcing connectors.
Before first use:
- Wipe each component with a soft, food-safe cloth—dust is the enemy of a perfect first brew.
- Avoid placing any part on edgy or wet surfaces.
- Always support heavy sections, like the full water tank, with two hands.
“A gentle touch at setup means years of efficient, reliable brewing. Think of this as an investment in every staff coffee break to come.”
A careful unboxing sets your Aroma System up for years of service—every premium coffee starts with a smooth, professional assembly that anyone in the workplace can follow effortlessly.
Installing the Flavia Aroma System: Assembly and Placement
Picture this: your new Flavia Aroma System arrives at your business—ready to create an inviting hub for coffee in your office, lobby, or break room.
Choosing the right spot is key: find a flat, stable countertop that can handle light splashes, is away from heat sources, and fits seamlessly into your daily workflow.
Selecting the Perfect Location
- Place your Aroma brewer within easy reach of staff, but out of high-traffic pathways to reduce crowding and spills.
- Make sure there’s at least 10cm (4 inches) clearance at the back and sides for ventilation.
- Prioritize counter height for ADA compliance in accessible spaces.
Tip: Near a shared kitchen, café area, or staff lounge is ideal for maximum visibility and convenience.
Positioning for Power and Water
- Keep the brewer close to a grounded power outlet—no extension cords for safety.
- Decide between Jug Filled (manual tank) or Plumbed-In (direct water line) options:
- Jug filled offers flexibility and easy relocation.
- Plumbed-in provides continuous water supply; perfect for high-volume areas.
For plumbed-in setups, ensure a licensed technician connects the water line—this protects machine warranty and meets local code.
Step-by-Step Assembly
- Install the water reservoir: Slide the tank into its designated slot until it clicks securely.
- Attach the drip tray: Align and push gently until it locks in place beneath the brew head.
- Insert the waste Freshpack bin: Fit the bin below the brew station to collect used packs.
- Connect any additional peripherals (e.g., waste hoses) if required by your site’s needs.
Each step takes less than five minutes—a streamlined process for busy teams eager to start brewing.
Special Considerations for Commercial Settings
- For large offices and high-volume venues: Place the machine where groups can form lines without blocking walkways or exits.
- In healthcare or hospitality, ensure easy sanitization access and compliance with hygiene standards.
- Use anti-slip mats beneath the unit in environments with a risk of wet floors.
Reimagine your workspace: “A great coffee station is often where the day’s best conversations begin.”
With the right assembly and placement, you not only extend the life of your Flavia Aroma System but also make quality coffee part of the fabric of your business. This attention to detail means less downtime, higher satisfaction, and a premium daily ritual everyone will value.
Powering Up: Configuring Core Settings
Getting your Flavia Aroma System up and running starts with a few key power and setup steps.
Picture this: You’re prepping the breakroom before the morning rush—efficiency is everything.
Start by placing your Aroma System on a flat, stable surface close to a power outlet. For safety and optimal workflow, make sure there’s no water nearby when plugging in.
- Plug the power cord securely into the wall outlet.
- Locate the main switch (usually at the back of the unit) and flip it to “I” (On).
- Watch for the display screen or indicator lights to signal the system is booting up.
“Powering up is as easy as flip, click, and you’re minutes away from brews that make Mondays better.”
Navigating the Display & Interface
Once powered, the Aroma System will prompt you through its initial setup. For commercial operators, the interface is designed for straightforward, rapid onboarding—no guesswork involved.
- The touchscreen or physical buttons will guide you step by step.
- If prompted, select your preferred language from a multilingual menu.
First-time boot-up may prompt you for operator access:
- Some models require entering the default password (usually by pressing the top right button four times).
- Adjust settings using on-screen prompts: arrows, “Next/Back,” and confirmation buttons.
“System setup is built for busy staff—less fiddling, more sipping.”
Initial Settings: Language, Time, and Essentials
Customize the essentials for staff and guest convenience right away.
- Set the correct language to ensure everyone, including multilingual teams or guests, can operate the brewer.
- Enter the current time so your workplace always knows when the last brew was made (critical for offices that rely on freshness).
- Review and confirm preliminary settings—these might include water supply mode, energy-saving timers, and cleaning reminders.
Settings are quick, but their impact lasts all day: 91% of office workers say a seamless coffee station improves morale and efficiency.
How Configuration Shapes the Daily Experience
“One five-minute setup can save hours of questions later.” When you set the system for your space, you guarantee:
- Staff across shifts and departments will enjoy consistent results every time.
- Guests—whether hotel visitors or healthcare patients—get a premium, stress-free coffee moment.
With these steps, your Flavia Aroma System is customized for your commercial needs, setting the tone for every coffee break. Expect smooth mornings and satisfied team members—a powerful start to any business day.
Priming and Preparing the Brewer for First Use
Getting your Flavia Aroma System ready starts with one essential step: priming the hot water system. This process flushes internal tubes and the boiler, removing any dust or manufacturing residue, and ensures every cup meets your workplace’s standards for fresh, quality coffee.
Why Priming Matters in Commercial Environments
Proper priming is not just about machine care—it’s a first step toward delivering consistently flavourful beverages for staff and guests. Water left stagnant during shipping can affect brew quality, so starting clean is mandatory.
Visual scenario: Picture this—a freshly installed brewer in a bustling lobby, providing the first cup of Lavazza coffee that’s as clean and bright as your professional space.
Step-by-Step: Priming the Hot Water System
Here’s how to get your brewer primed and ready—fast:
- Place a large empty container under the brew head to catch water during priming.
- Turn on the brewer. Modern models often prompt you with on-screen instructions for a guided, automatic prime.
- If priming isn’t automatic:
- Enter Operator/Menu mode: Press the top right button 4 times (default password: 0000).
- Use ‘Next/Back’ to find Prime/Prime Hot Water System.
- Follow on-screen or manual prompts to begin.
- Allow the system to pump water through—typically takes 2-4 minutes.
- Once complete, dispose of all water collected.
What to Expect: Automatic vs. Manual Priming
- Automatic Priming: Display provides clear prompts, making the process quick and nearly mistake-proof.
- Manual Priming: Requires menu navigation—ideal for setups needing more operator control (common in hotels or healthcare).
- Both methods ensure the internal boiler reaches full temperature and sanitation before first use.
Troubleshooting and Where to Get Help
Common issues during priming include:
- Error messages or incomplete cycles
- Water not dispensing (often due to an improperly seated tank)
If problems persist:
- Check machine connections and water levels
- Consult your Flavia Aroma System manual for model-specific tips
- Contact Perfected Coffee’s service team—proactive support is part of your B2B partnership
Sustainable Water Practice for Businesses
Encourage team members to:
- Use the minimum volume of water for priming and rinsing
- Track water usage as part of your facility’s sustainability goals
- Consider scheduling group priming for multiple machines to reduce waste
A properly primed Flavia Aroma System is the starting point for delivering high-quality, consistent drinks in your business environment—the foundation for that first, memorable cup. With clear prompts and a five-minute investment, you set the stage for taste and reliability, cup after cup.
Setting Up Your Water Supply: Jug Filled vs. Plumbed-In
Choosing the right water supply method is crucial for the daily flow and reliability of your Flavia Aroma System.
You have two main options—each with its own benefits—so it pays to match the setup to your business size and workflow.
Comparing Your Options: Manual vs. Direct Water Feed
Picture this: a small staff room with easy refills, or a busy lobby with constant traffic.
- Jug Filled (Manual Tank Fill):
- Ideal for: Offices with fewer than 30 staff, temporary installations, or where plumbing access is limited
- Pros: Fast setup, flexible placement, no plumbing costs
- Cons: Requires daily manual refills, can interrupt workflow during peak times
- Plumbed-In (Direct Line):
- Best for: High-traffic workplaces, hotels, busy healthcare units
- Pros: Unlimited water supply, minimized downtime, fits seamlessly into routines
- Cons: Needs a nearby water source, one-time plumbing setup (typically under 30 minutes by a certified technician)
“The right water setup can save your team more than 30 minutes a day—that’s time back for service, not chores.”
Step-by-Step: Selecting and Configuring Water Supply Mode
From the Aroma System’s display panel, setup is quick:
- Press the Menu button, enter the Operator Mode (use the password if prompted; default is usually “1111”).
- Navigate to “Water Supply.”
- Select either “Jug Filled” or “Plumbed In” using the arrows.
- Confirm your selection and exit setup mode.
If opting for plumbed-in, ensure:
- The water line hose is attached securely to the inlet
- The filler lid is snapped in place to maintain sanitary standards
- All plumbing matches commercial codes (most installations use standard 3/8” lines)
Answering Common Installation & Scalability Questions
Thinking ahead is smart—especially as your office grows.
- For growing facilities: Plumbed-in systems scale best, avoiding refill errors when staff counts fluctuate.
- Unsure about plumbing location or requirements? A site survey by a professional takes the guesswork (and risk) out.
- Many Canadian businesses choose filtered water lines for consistency and optimal taste—it’s top trending in hotels and healthcare.
“One simple upgrade—like a direct water line—can future-proof your break area for years.”
A proper water supply setup boosts efficiency, keeps staff happy, and ensures every Lavazza drink maintains its premium profile. You’ll not only protect machine longevity, but also encourage seamless service—no more surprises or downtime during the morning rush.
System Rinse and Initial Cleaning Cycle
A hot water rinse is the first and most crucial step for any new Flavia Aroma System installation. This simple cycle flushes away manufacturing residues and primes your brewer for vibrant-tasting coffee from the very first cup.
A quick rinse ensures every drink tastes freshly brewed—without lingering “new machine” flavors. Think of it as the reset button for your coffee experience. Skipping this step can impact both taste quality and long-term machine performance.
Why an Initial Rinse Matters
- Removes internal dust and residue from production and shipping
- Heats the internal system, delivering beverages at the right temp from cup one
- Supports the brewer’s longevity by keeping critical pathways clear
Consistent rinsing can help machines last up to 30% longer, based on industry maintenance data.
Step-by-Step: Running the Initial Rinse Cycle
Most Aroma Systems make rinsing quick and intuitive.
- Place a large, empty container under the brew head
- Using the display or menu, select “Rinse” or follow on-screen instructions
- Start the hot water cycle—run at least one full cycle (repeat for extra assurance)
- Discard the rinse water afterward
“Regular cleaning is not just a check-box—it’s your secret to premium coffee every time.”
How Often to Rinse: Best Practice Insights
- Upon setup: Always run a rinse before your first brew
- Daily: Quick rinse each morning, especially in high-traffic workplaces
- Between drink types: If switching from coffee to specialty options, an extra rinse ensures flavor purity
Schedule a full cleaning every week for heavy-use environments, and consider setting reminders that staff can follow at shift changes.
Integrating Cleaning Into Workplace Routines
A well-maintained coffee area boosts both staff morale and guest satisfaction. Picture this: Your morning team arrives to the enticing aroma of Lavazza, with every cup tasting just as intended—no off-notes, no surprises.
- Assign a cleaning checklist alongside daily closing/opening duties
- Post quick-start rinse instructions near the brewer for easy reference
- Use eco-friendly cleaners to uphold sustainability and quality
“Clean machines make happy teams—and even happier guests.”
A professional rinse-and-clean routine sets your Flavia Aroma System up for daily success. The result: bold, authentic Lavazza flavour in every cup, and a brewer your business can count on day after day.
Brewing Your First Drink: Flavia Freshpacks and User Guidance
Preparing that very first cup with the Flavia Aroma System is designed to be intuitive and stress-free, even during busy mornings in Canadian offices, hotels, or healthcare lounges.
A key first step: adjust the cup stand.
This ensures every cup—travel mug, paper cup, or espresso shot—fits perfectly, minimizing splashes and keeping countertops clean.
Adjusting for Cup Size and Placement
Quickly match the stand to your cup by:
- Sliding the stand up or down to fit tall mugs or smaller coffee cups
- Checking that the cup sits snugly under the brew head before starting
Picture this: a bustling workplace break area, where team members stack paper cups of every size—flawless fit, minimal fuss.
Inserting and Seating Your Flavia Freshpacks
For consistent results with every brew:
- Choose a Freshpack from your selection; options range from dark roast espresso to creamy hot chocolate
- Insert the Freshpack, label facing out, into the slot until you feel it “click” securely into place—no forcing needed
“One simple click is all it takes to enjoy café-quality coffee—right at your desk.”
Navigating Display and Customizing Your Drink
The Aroma brewer’s display or button controls will walk you step-by-step:
- Follow on-screen prompts:
- Select drink type
- Adjust drink strength or temperature (if available on your model)
- Hit “Brew”—beverage preparation typically takes less than a minute
Did you know? Over 78% of Canadian offices say quick brew time is “very important” for staff satisfaction.
Specialty models may feature:
- Advanced drink options (e.g., cappuccino, lattes, or dual Freshpack beverages)
- Customizations such as extra-hot or bold mode for tailored experiences
Easy Operation for Staff and Guests
Support seamless daily use by:
- Posting quick signage near the brewer—simple brew “how-tos” or QR codes linking to video guides
- Providing compact operation cards at the station for new team members or guests
- Sharing digital user guides via staff intranets or guest info packets
“Great coffee shouldn’t require a training manual—just a welcome sign.”
Specialty Drink Features & Advanced Options
If your Flavia Aroma System supports specialty drinks:
- Access advanced drink options via the main menu (“More drinks,” “Specialty,” or similar prompts)
- Use dual Freshpacks for layered beverages, following the on-screen sequence
Staff can easily guide guests or new users, or scan operation QR codes for quick help—making premium coffee accessible to all.
Every step is designed for efficiency and reliability, so your team gets the freshest Lavazza brew with zero confusion.
Clear signage and digital resources make it effortless—premium results, no barista required.
Daily Use Essentials and Preventive Maintenance
Keeping your Flavia Aroma System operating at peak performance starts with a few non-negotiable, daily habits. Consistent upkeep doesn’t just support beverage quality—it maximizes uptime and delights your staff and guests day after day.
Must-Do Maintenance Checklist
Every shift or at least daily, your team should:
- Empty the drip tray and used Freshpack bin before overflow can occur.
- Wipe down all machine surfaces with a clean, food-safe cloth after each busy service round.
- Inspect the water reservoir and refill with filtered or fresh tap water, as machine prompts appear.
A workplace that schedules these small tasks will avoid interruptions—picture this: no more surprise spills or Freshpack backups during rush hours.
Routine Cleaning That Fits Your Flow
Streamlined cleaning routines mean less downtime and more satisfied guests. For busy commercial venues, we recommend:
- Daily: Empty bins, wipe surfaces, run a quick rinse cycle after service peaks.
- Weekly: Deep clean drip tray, cup stand, and external machine housing. Sanitize all touchpoints.
- Monthly: Descale the water system (as prompted), check and replace any wearable seals or gaskets.
Each practice fits typical Canadian hospitality, healthcare, or office environments—making sure your Aroma System always looks and operates like new.
Sustainable Best Practices
Elevate your coffee service with sustainability front and center. Leaders in responsible business are:
- Recycling Freshpacks using local or manufacturer-approved programs.
- Using eco-friendly cleaning products safe for staff and equipment.
- Minimizing water waste by only priming and rinsing as needed, not out of routine.
These steps help reduce your environmental footprint—an essential value as offices seek greener options in 2025.
Support That Simplifies Everything
With Perfected Coffee, you have a partner in maintenance:
- Access regular supply restocking to avoid last-minute shortages.
- Get immediate technical support and proactive maintenance visits as part of your service plan.
- Find digital guides and troubleshooting resources online, 24/7, supporting advanced user or site-specific questions.
Instant access to help means your coffee program runs smoothly—no expert barista needed.
A spotless, smoothly-operating Flavia Aroma System is more than a service—it’s a point of pride that your teams and guests notice daily. The real value? Preventive care ensures every cup matches your business’s quality standards, sip after sip.
FAQ
How long does it take to set up the Flavia Aroma System?
The entire setup process typically takes about 5–10 minutes from unboxing to the first brew. This includes placing the brewer on a stable surface, assembling the water tank, drip tray, and Freshpack bin, priming the system, and following initial display prompts. For busy offices, this quick setup ensures minimal disruption while preparing café-quality coffee for staff and guests.
Can I place the system anywhere in the office or workspace?
While the Flavia Aroma System is compact and flexible, proper placement is important for optimal performance. Choose a flat, stable, and dry surface near a power outlet. Avoid direct sunlight, heat sources, or areas with heavy foot traffic to protect machine longevity. If possible, place it near a plumbed water source to minimize daily refilling. Clearance of at least 4 inches around the system is recommended for ventilation.
Do I need any special tools or technical skills to set up the system?
No special tools or technical expertise are required. The system is designed for simplicity: just assemble the water tank, drip tray, and Freshpack bin. Follow the step-by-step prompts on the display for initial configuration, language selection, and priming. The intuitive design ensures anyone in the office can complete the setup with ease, even without prior coffee machine experience.
How do I ensure the best water quality and prevent common setup issues?
Water quality is critical for both flavor and machine longevity. Use cold, filtered tap water rather than distilled or softened water, as this can cause scaling and impact taste. Make sure your electrical outlet provides stable voltage and is properly grounded—research shows that 70% of coffee machine problems originate from water and power issues. Following these guidelines ensures smooth operation and minimal maintenance.
Conclusion
Bringing the Flavia Aroma System to life in your workplace isn’t just about following a process—it’s about transforming your daily coffee experience into something seamless, reliable, and worthy of your team and guests. By partnering with Perfected Coffee, you can ensure that every step you take to Set Up the Flavia Aroma System is guided by expertise and attention to detail.
With just a bit of thoughtful setup and routine care, you lay the foundation for consistent, high-quality Lavazza coffee that elevates morale and creates an inviting hub for connection. Perfected Coffee supports Canadian businesses in making every cup a premium experience, turning your coffee station into a space that impresses staff and visitors alike.
—
Key Actionable Takeaways:
- Designate a prime location that supports power access, workflow, and accessibility for all users.
- Prioritize a clean, thorough unboxing and initial rinse to guarantee cup-after-cup quality right from day one.
- Select the best water supply mode—jug filled or plumbed-in—for your team size and traffic patterns.
- Integrate daily maintenance checks into closing or opening routines to prevent downtime and protect your investment.
- Empower your staff: Keep quick-start guides and digital resources handy for effortless onboarding and guest support.
—
Next Steps to Activate Your Aroma System:
- Complete installation using your workspace best practices checklist.
- Run the system’s first rinse and prime cycle to ensure lasting quality.
- Post concise usage and cleaning guides near your brewer—this simple move drives consistency and shared responsibility.
- Schedule your coffee supply restocks and technical support visits upfront—set and forget for peace of mind.
—
Every remarkable workplace is built on great experiences, one cup at a time. When you invest in a flawless setup today, you’re not just protecting your coffee system—you’re creating a daily ritual that keeps your team motivated and your guests impressed.
“A well-placed coffee station is more than an amenity—it’s where productivity and camaraderie start, every single day.”
Make your Flavia Aroma System the new centerpiece of your workplace culture. The next step? Brew your first cup and watch the difference unfold.
editor's pick
latest video

news via inbox
Nulla turp dis cursus. Integer liberos euismod pretium faucibua